


How to Install Ultraframe Conservatory Roofs
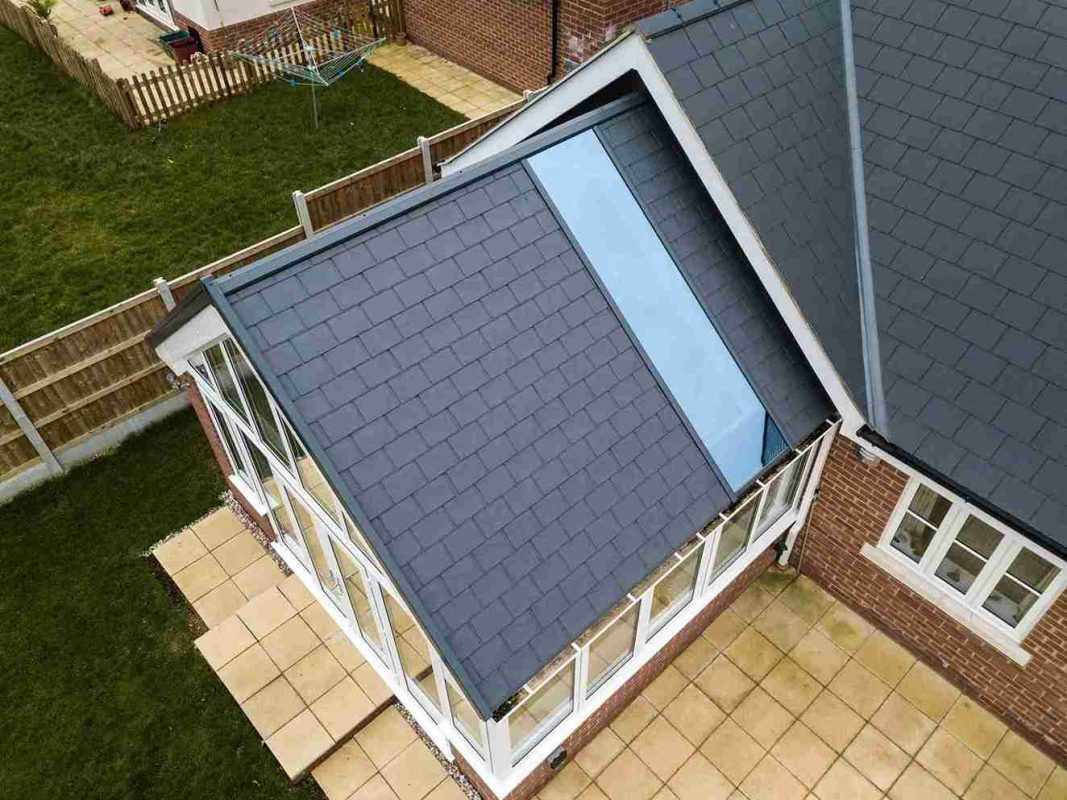
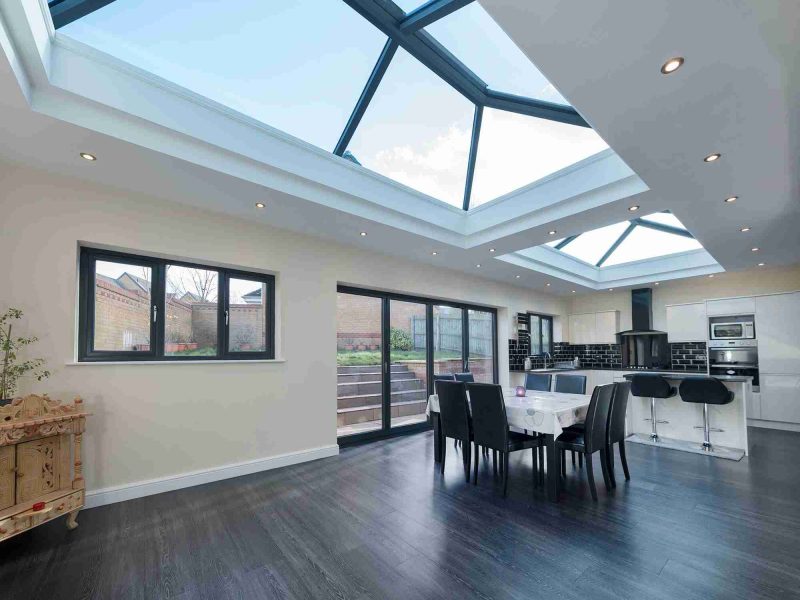
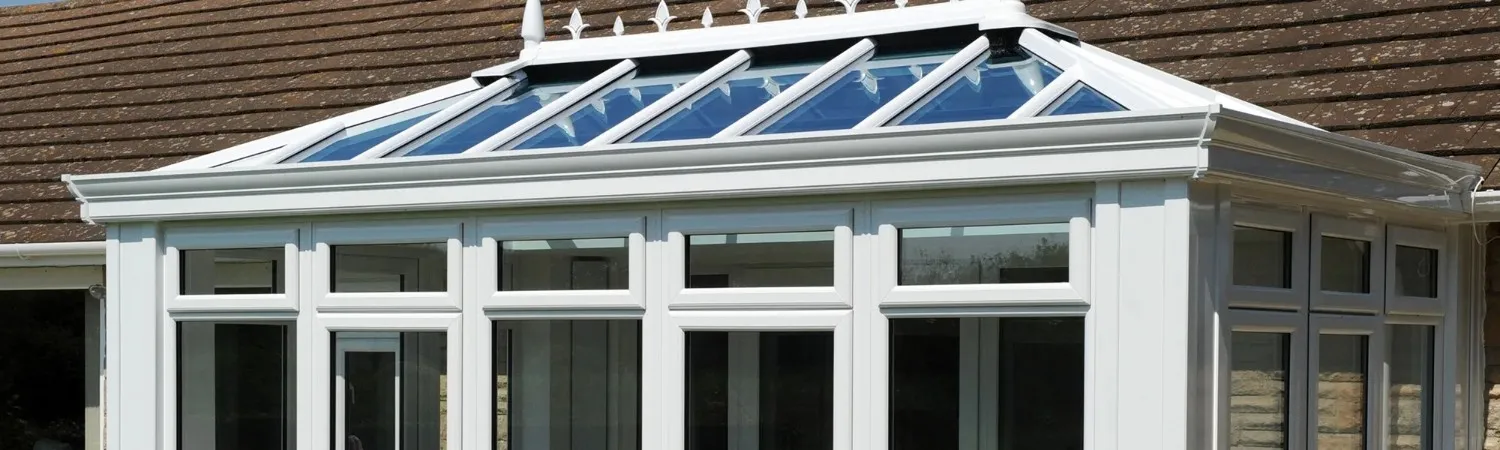
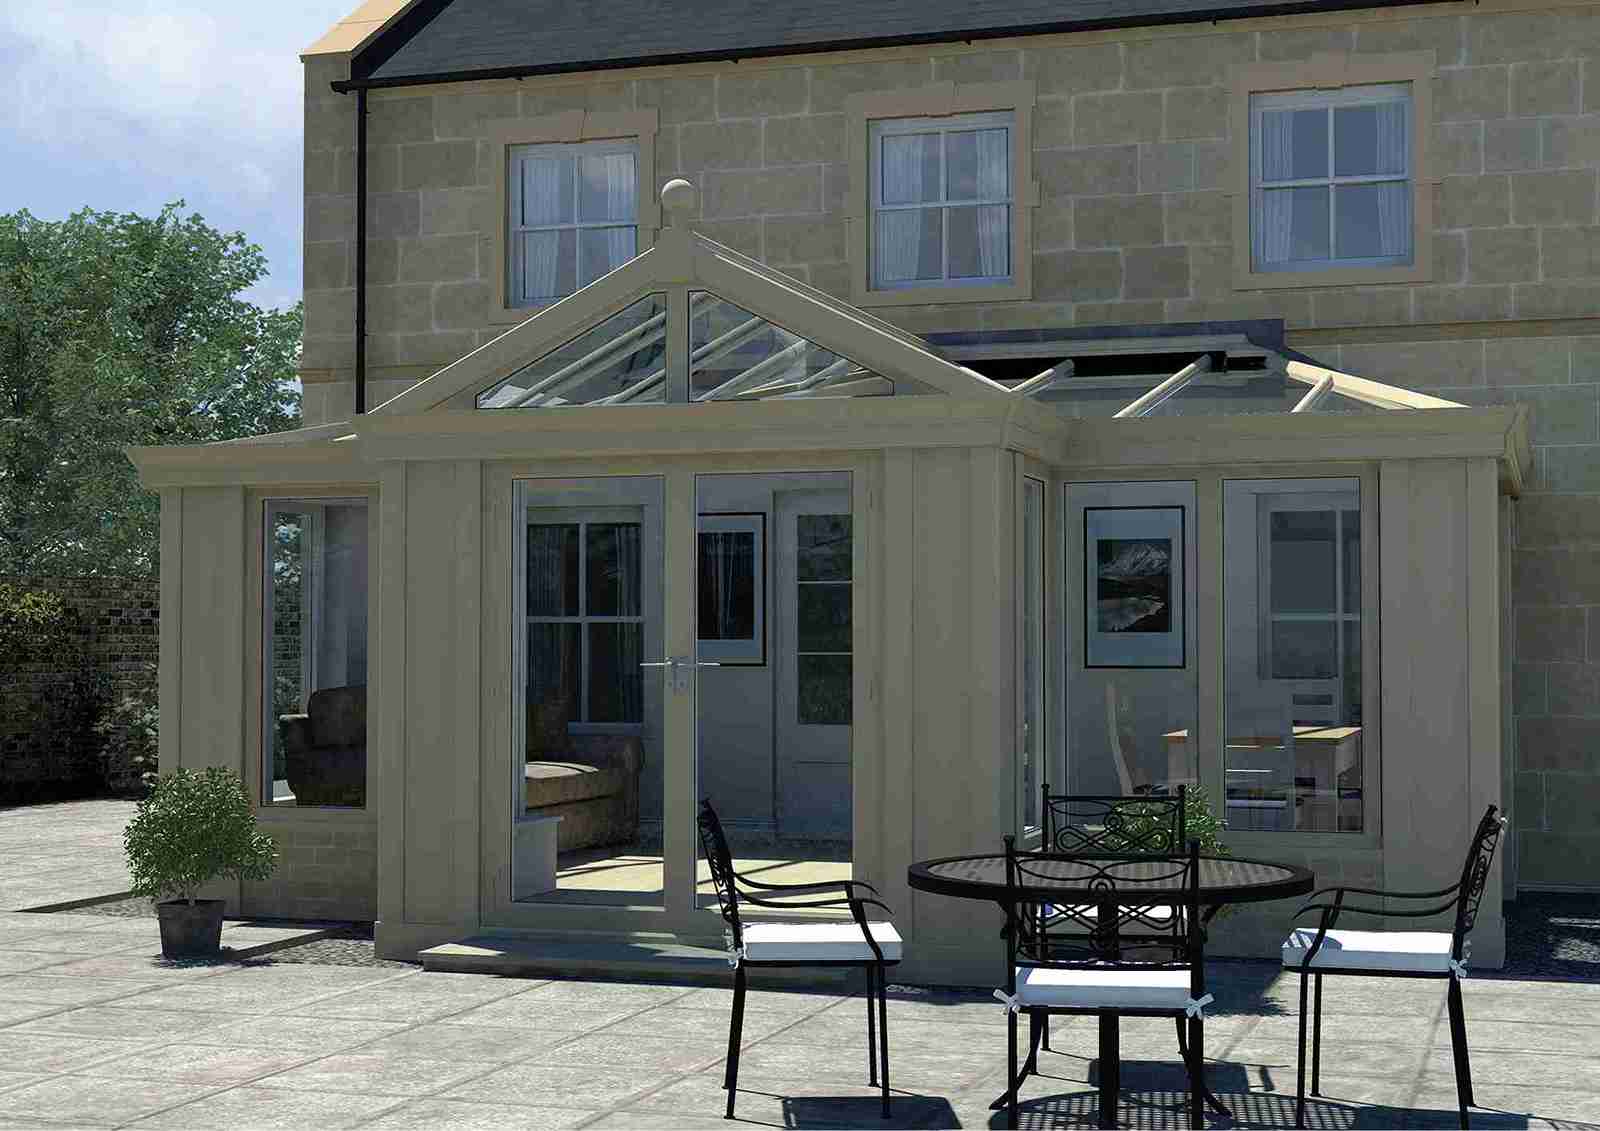
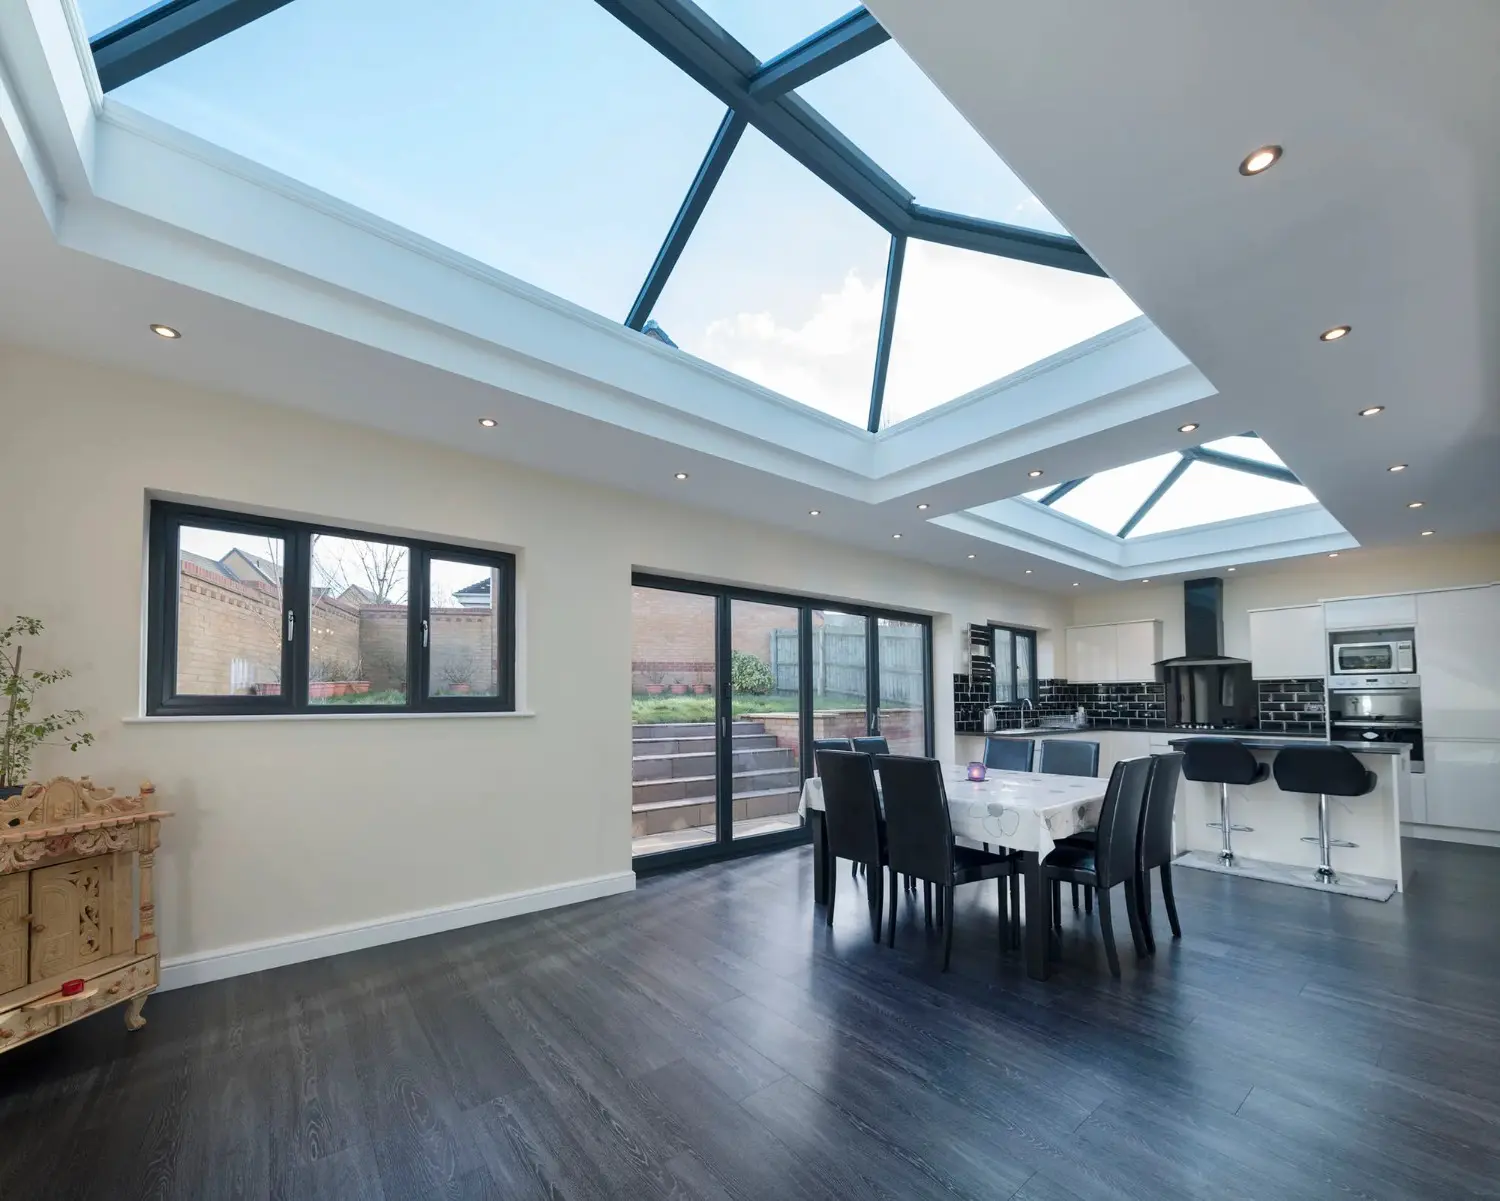
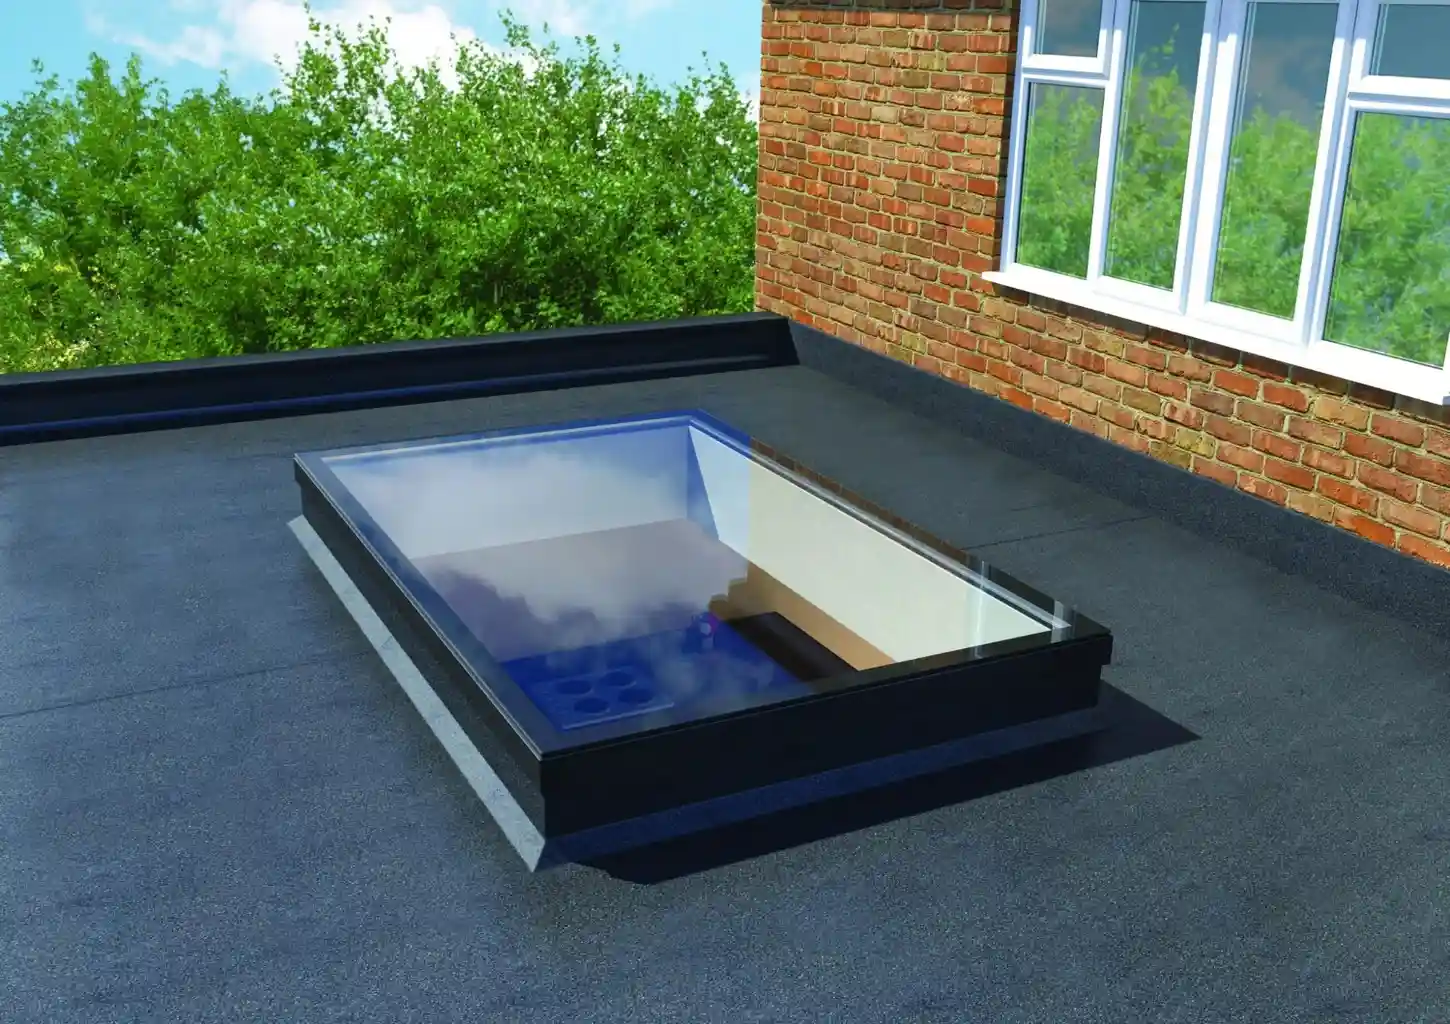
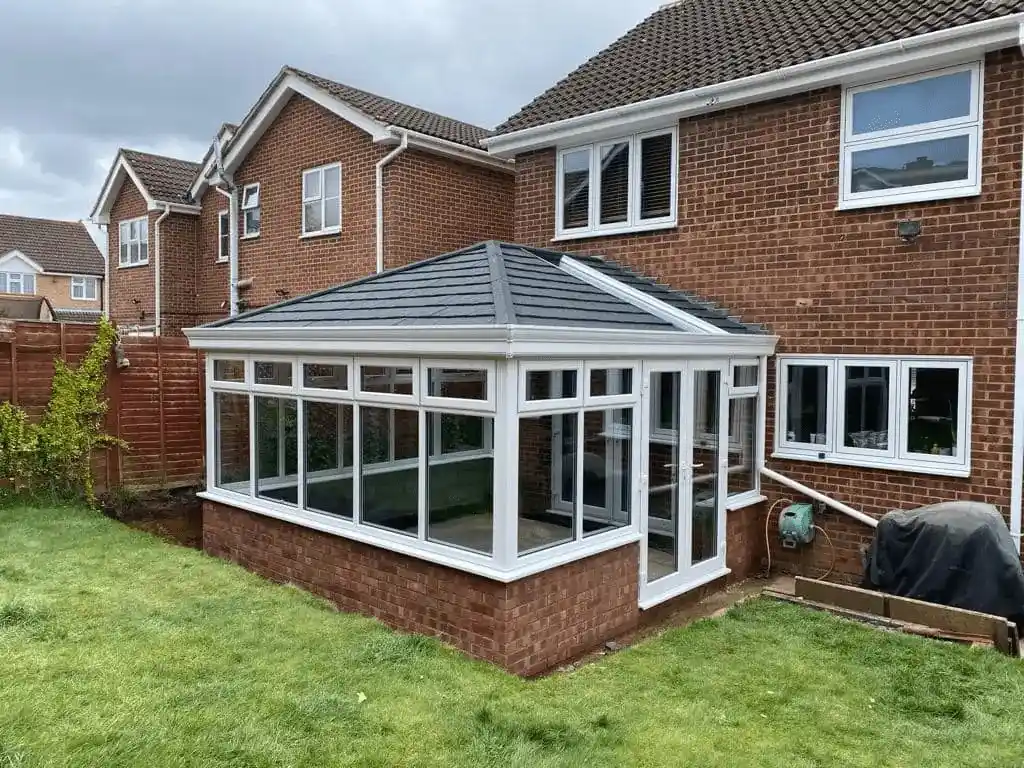
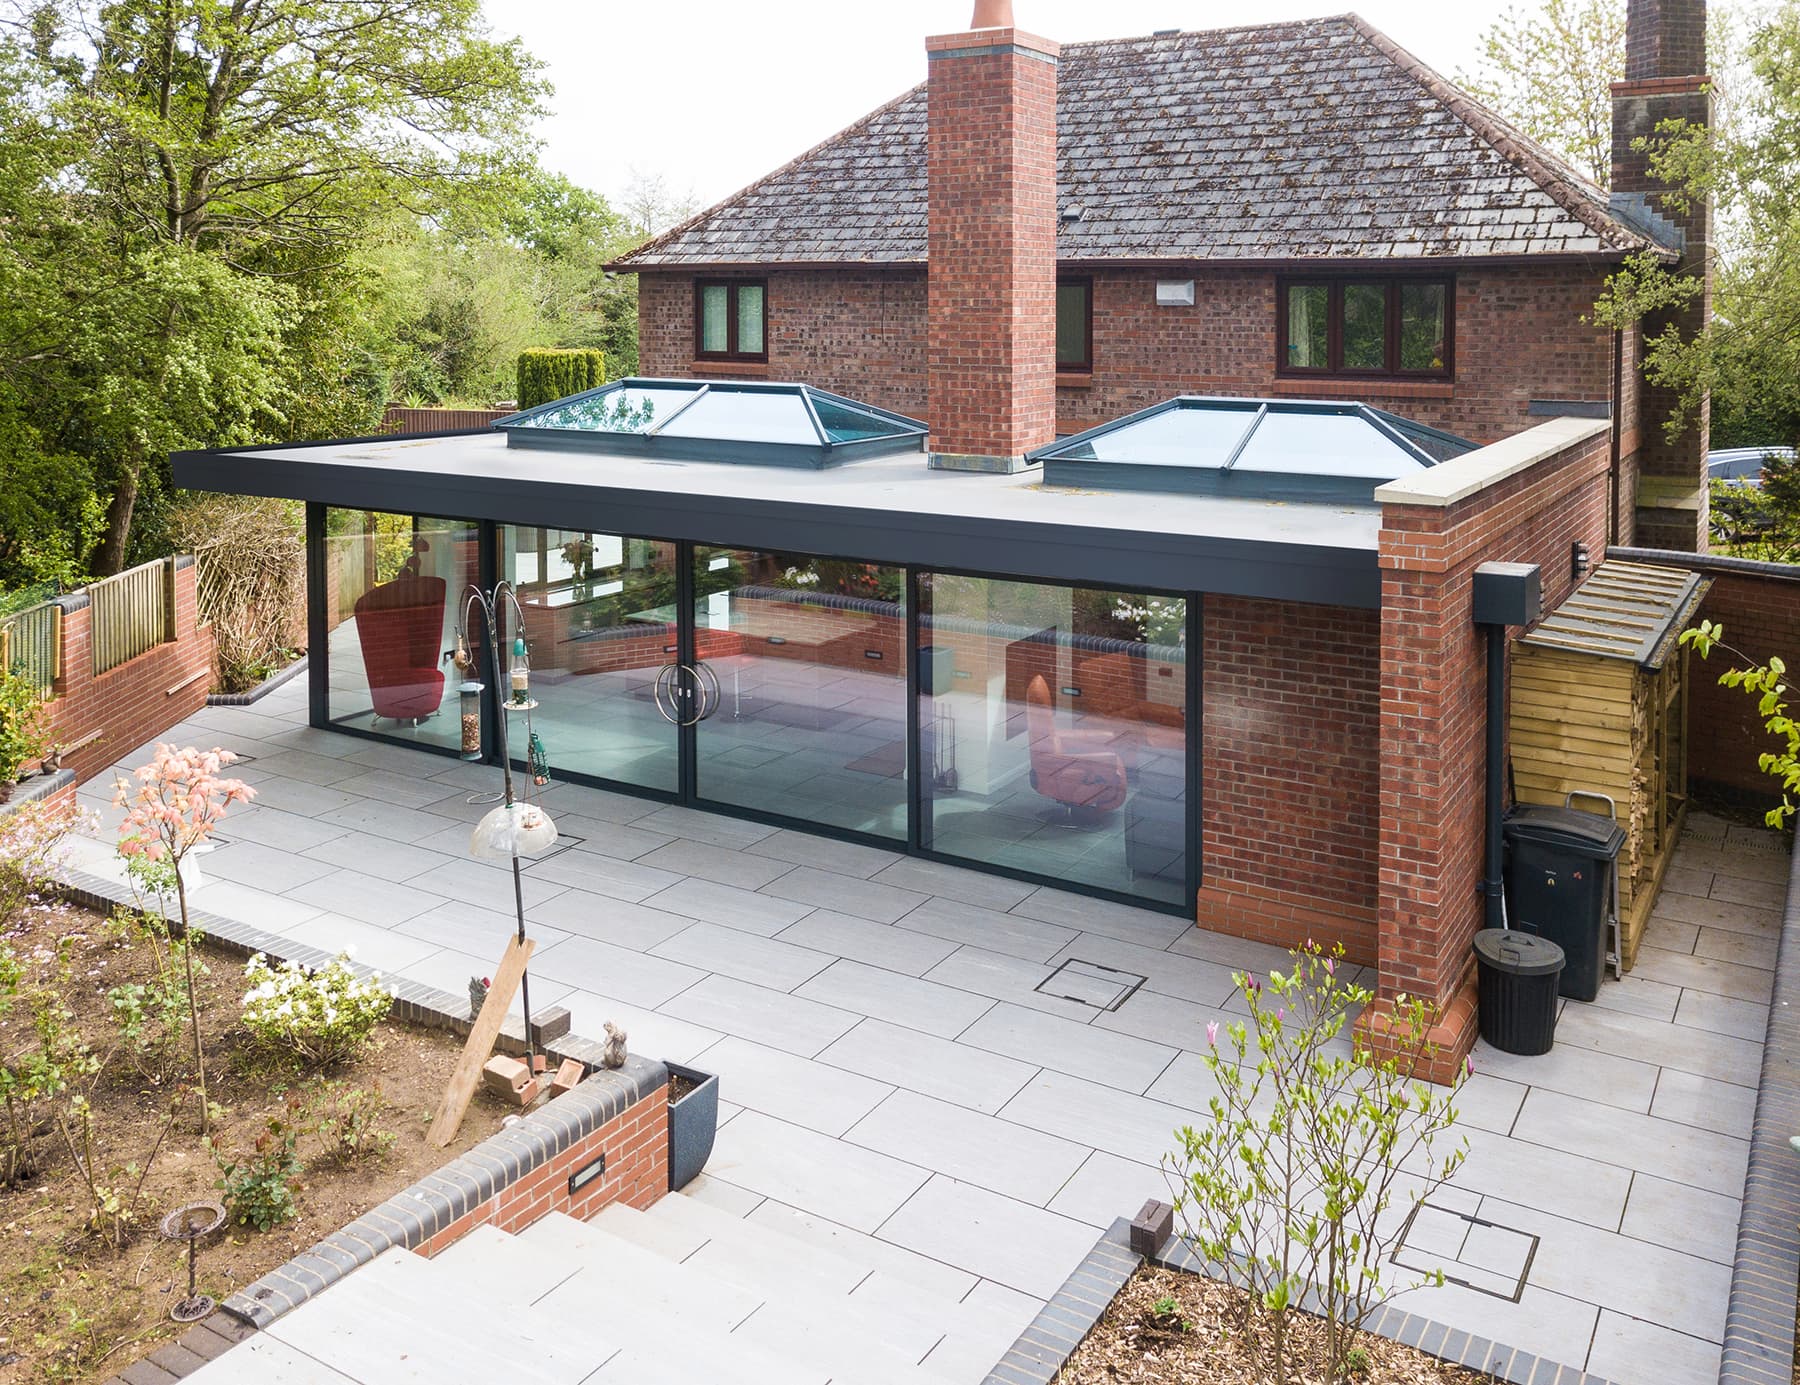
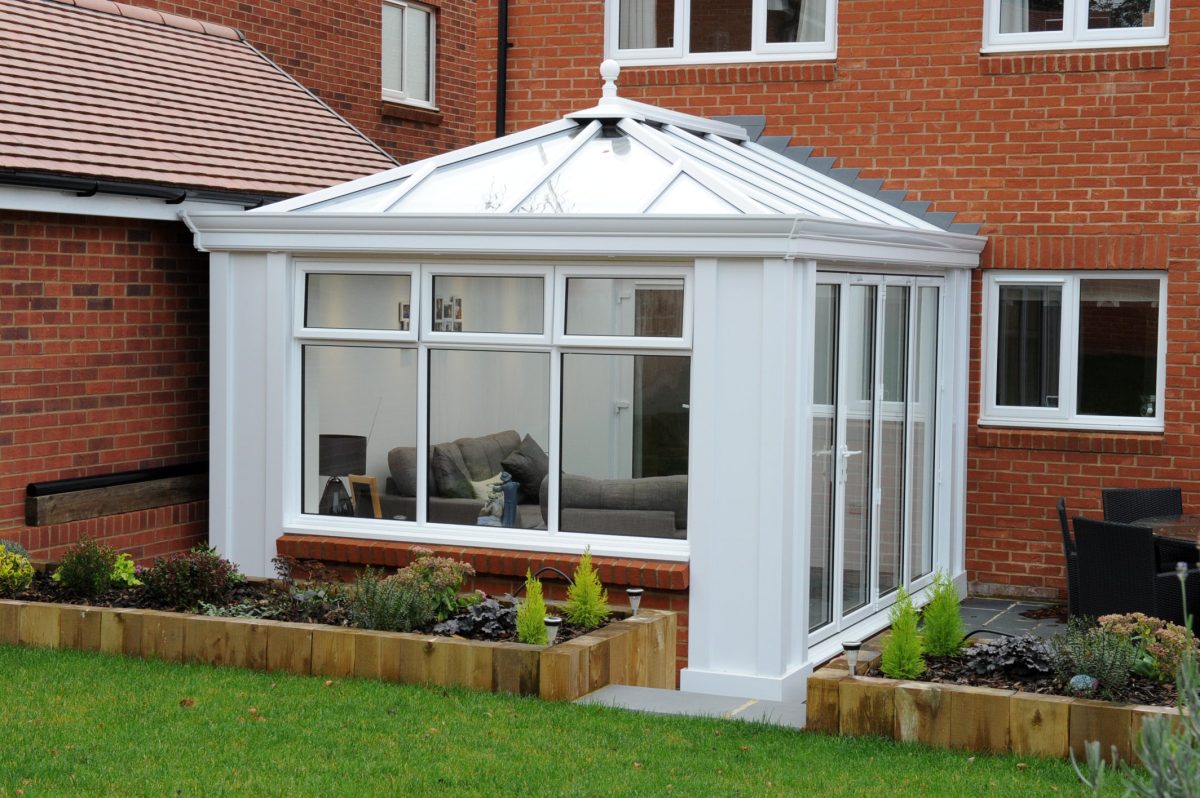
A glass conservatory roof provides an array of benefits. Our range of Ultraframe glass roofs provide an energy efficient method of increasing natural light in your home, while providing high levels of insulation. Not only do these roofs look aesthetically pleasing, but they help to make a conservatory far more usable throughout the year. These roofs are designed to retain more heat during colder months- and within the summer months, the glass reflects the heat, keeping it away from your living space.
This guide will show you how to install our available range of Ultraframe Conservatory roofs, so you too can reap the benefits of our selection. With click-fit speedlocks and top-caps, these conservatory roofs could not be easier to fit!
If you’ve been toying with the idea of installing a conservatory roof in your home and want to take on the challenge yourself, an ultraframe conservatory roof is a great option. It’s a cost-effective way to add square footage to your home without taking away from usable space. Here’s a step-by-step guide on how to install an ultraframe conservatory roof for the DIY enthusiast.
Pre-Installation Checks
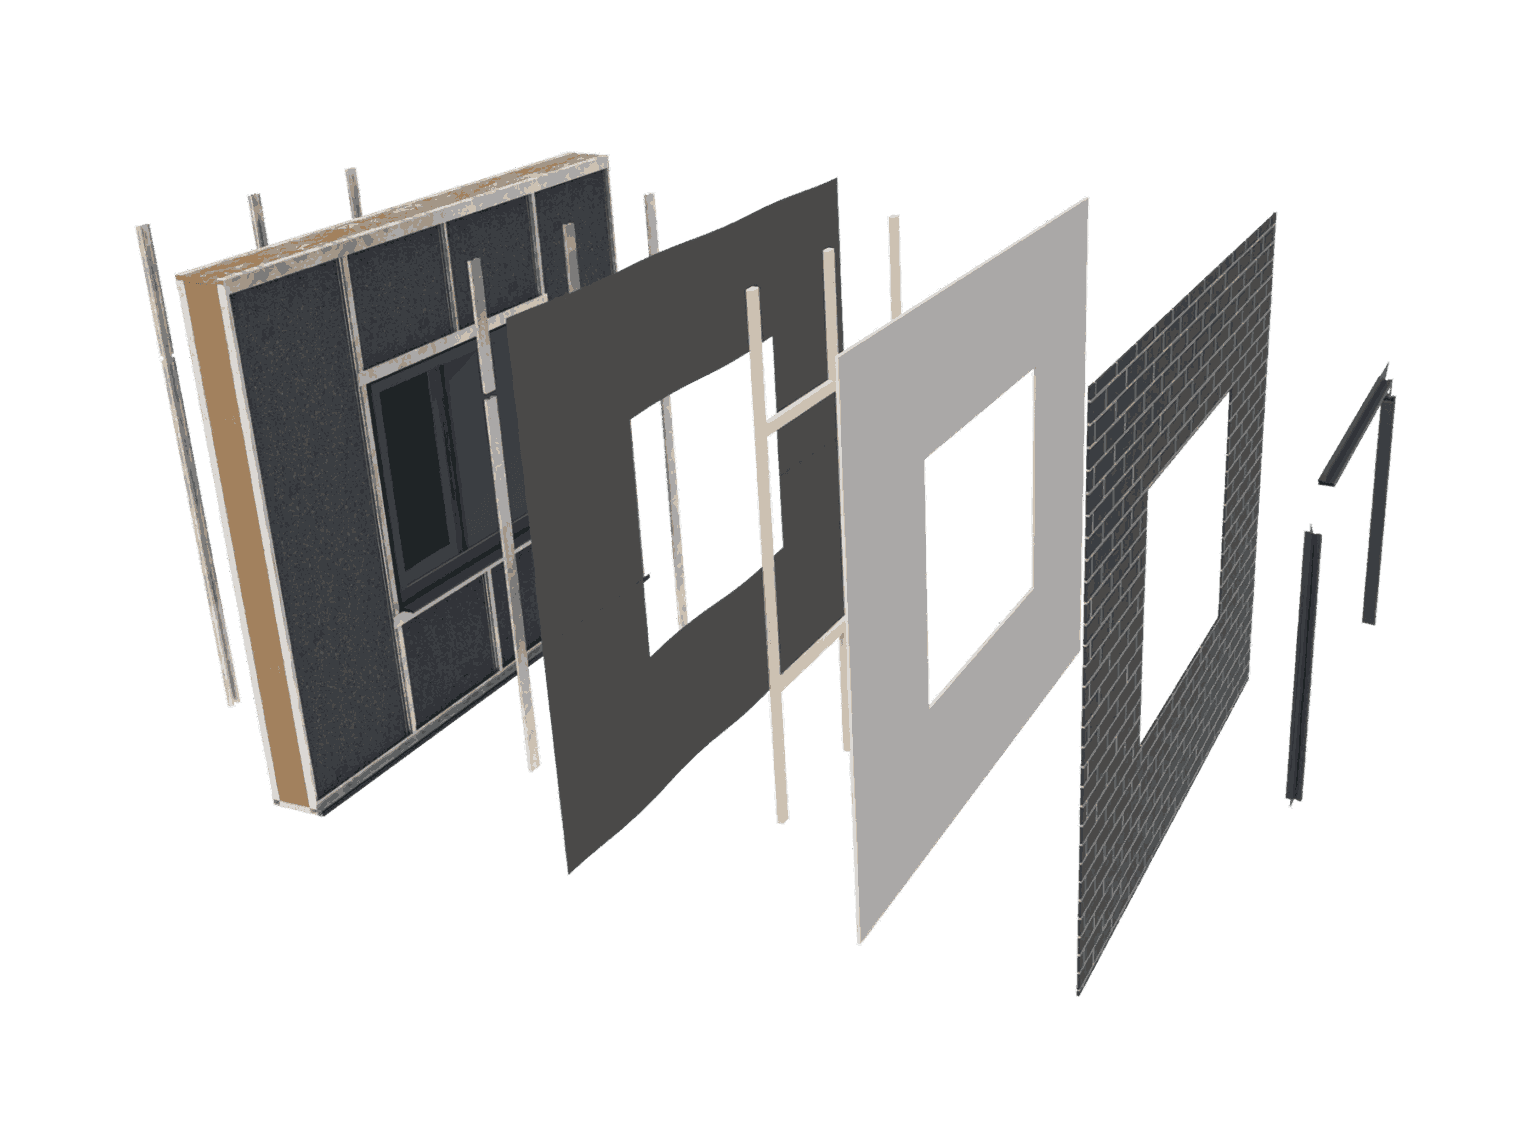
The first step is to buy the ultraframe conservatory roof kit. This kit includes all the necessary components, such as the roof panels, side frames, eaves and ridge components. If you’re not confident in your measuring abilities, you can request a special cut kit and let the manufacturer know the exact size you need.
Next, remove the old roof and any debris from the site. This is important to get out of the way first, to make sure you have enough space to begin your project. Once the area is all cleared up, you can begin the installation.
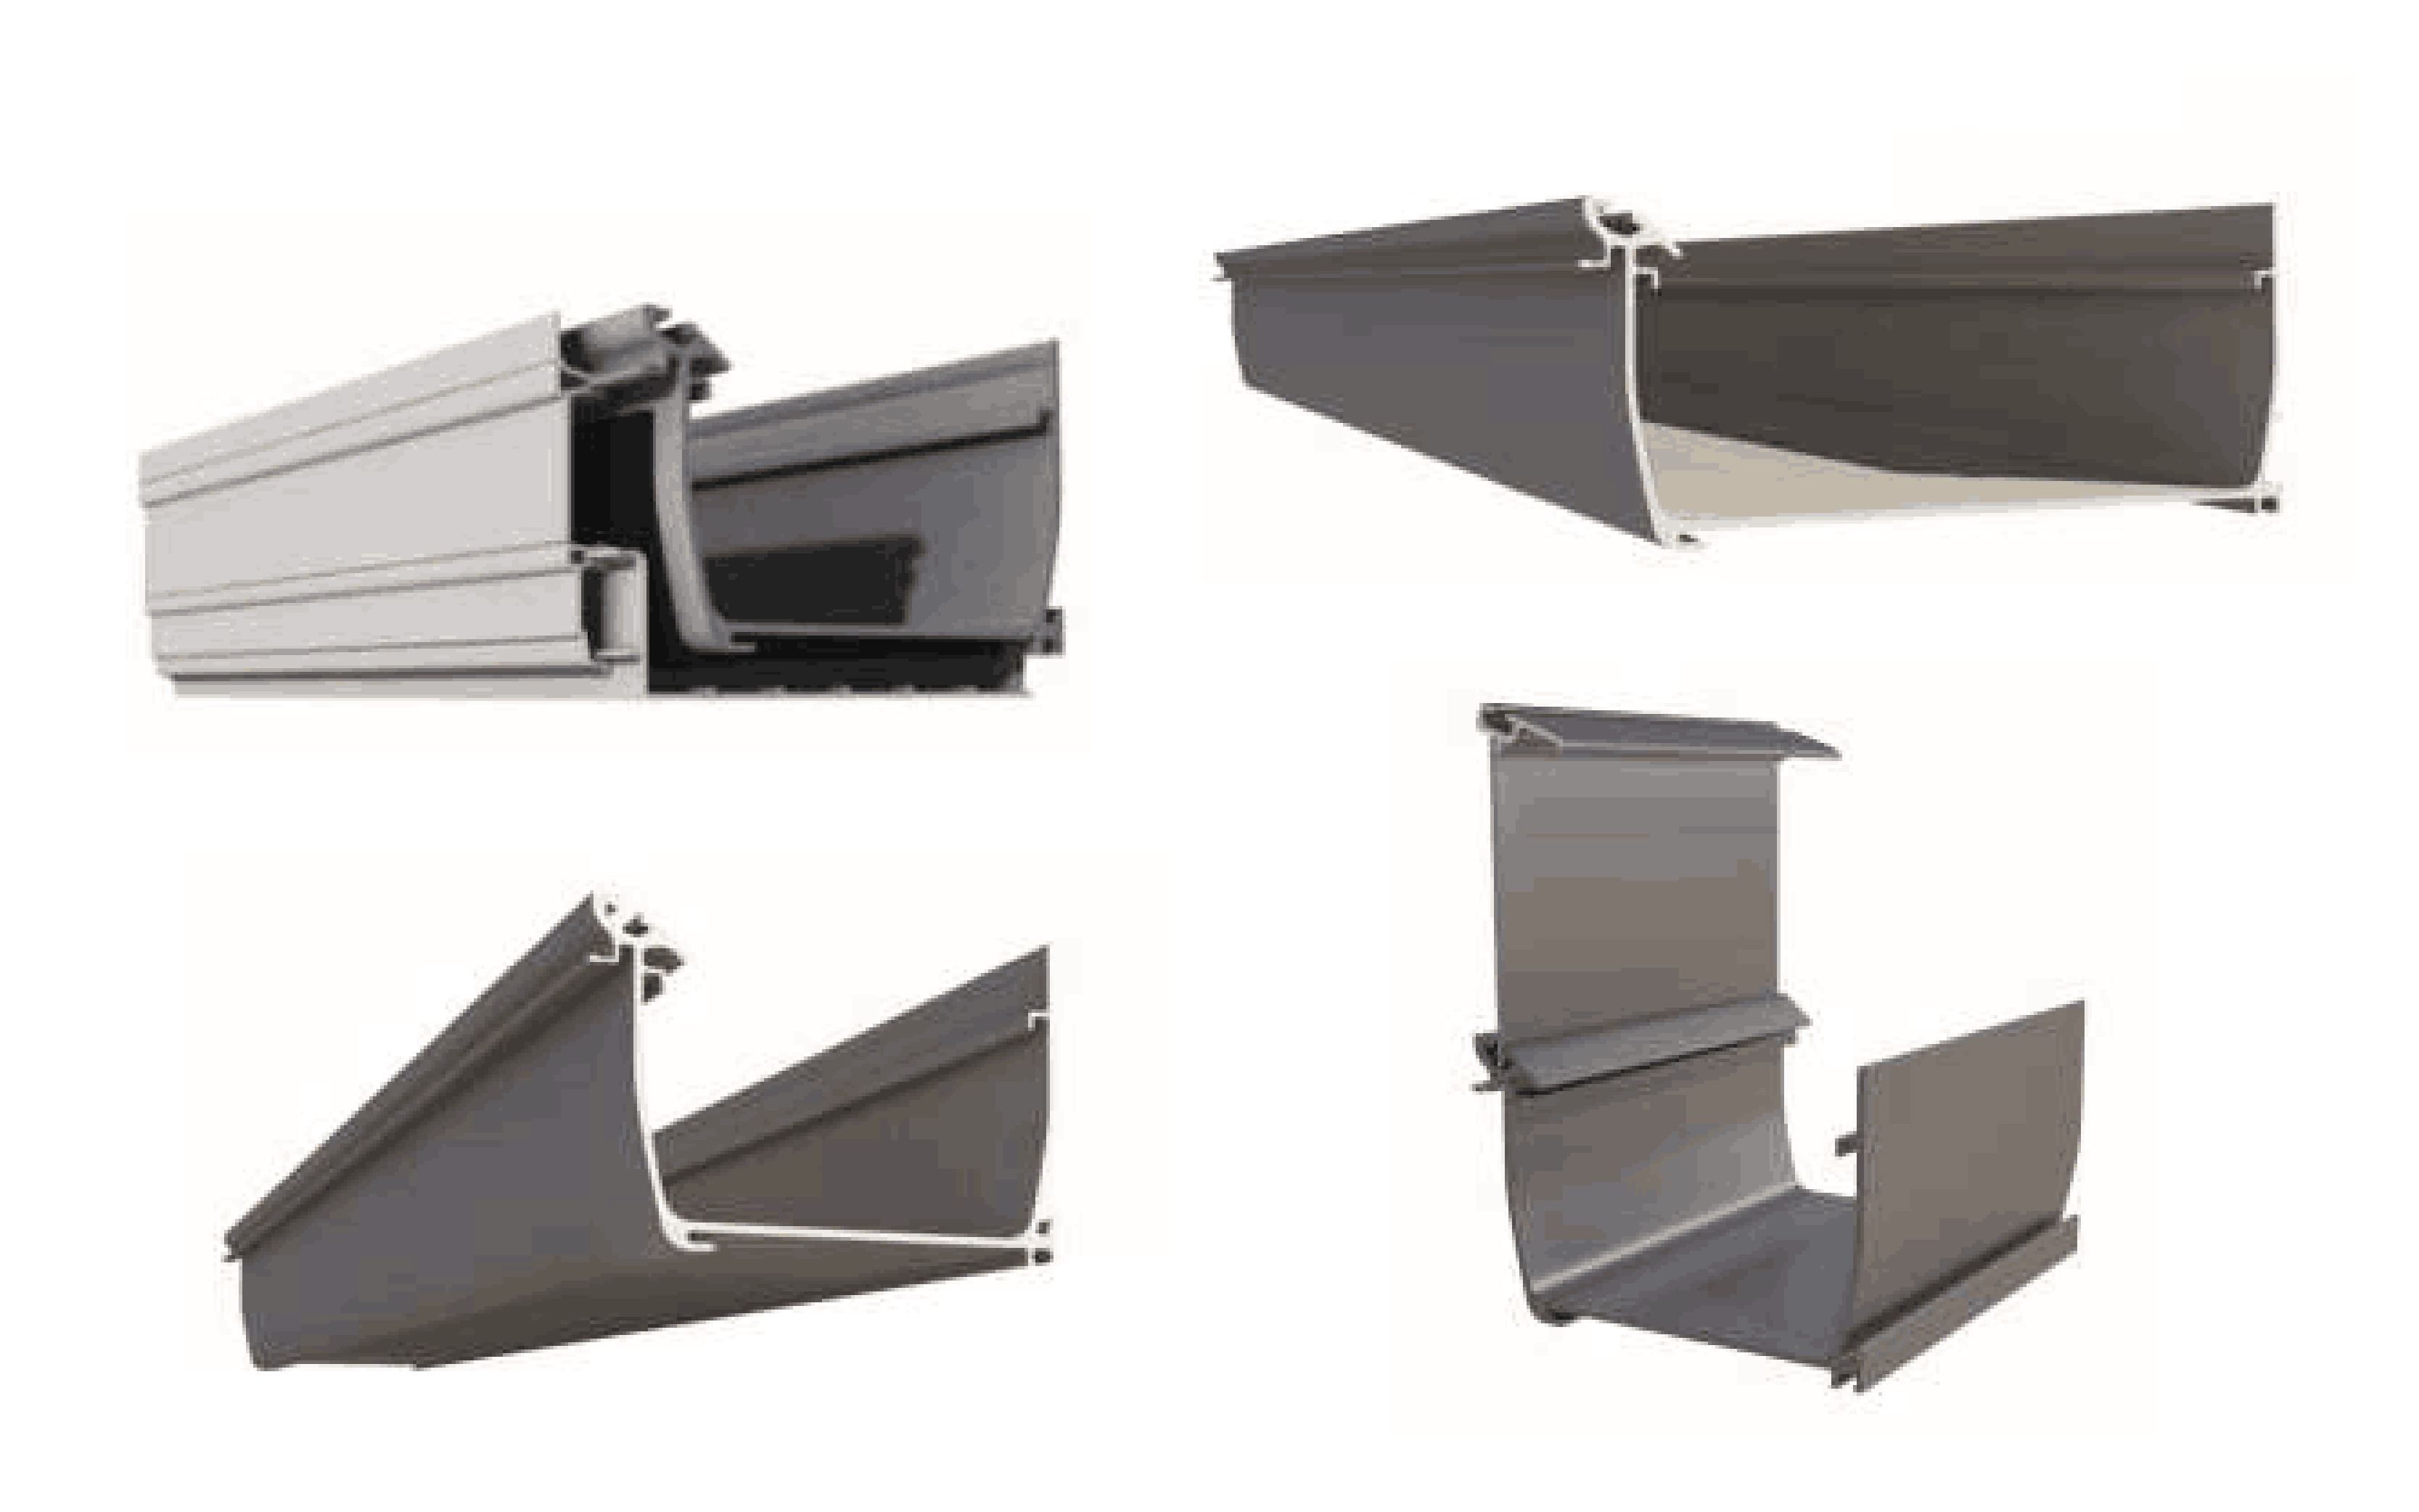
Parts You’ll Need
Before installing your Ultraframe conservatory roof, unpack all the components somewhere they can be placed without marking or damaging them. Check for signs of wear before fitting. Make sure you have all the parts before assembly, and that they are all in good condition.
Review the installation guide for more information about the parts you should receive and the tools you’ll need to install your new roof. In short, you’ll need:
- 8, 10, 13mm Socket Spanner
- Deadblow Hammer or White Rubber Mallet
- No 2 Pozi-Drive Bit
- 5mm Wide Flat Blade Screwdriver
- Hack Saw
- Drill or Screwdriver
- Long Nose Pliars
- Gasket Shears
- 4.5mm and 10mm Drill Bit
- Sealant Gun
- 2 x 5mm Allen Keys
- 17mm Open Ended Spanner
- Spirit Level
- Tape Measure
- Anglefinder
- Plumb Bob
You should also ensure that you check the sealant you intend to use, to check it’s suitable for the new roof. For roofs glazed with polycarbonate, a low modulus neutral cure brand of silicone needs to be used. For roofs glazed with Conservaglass or other self cleaning glasses, then MS polymer sealant must be used instead.
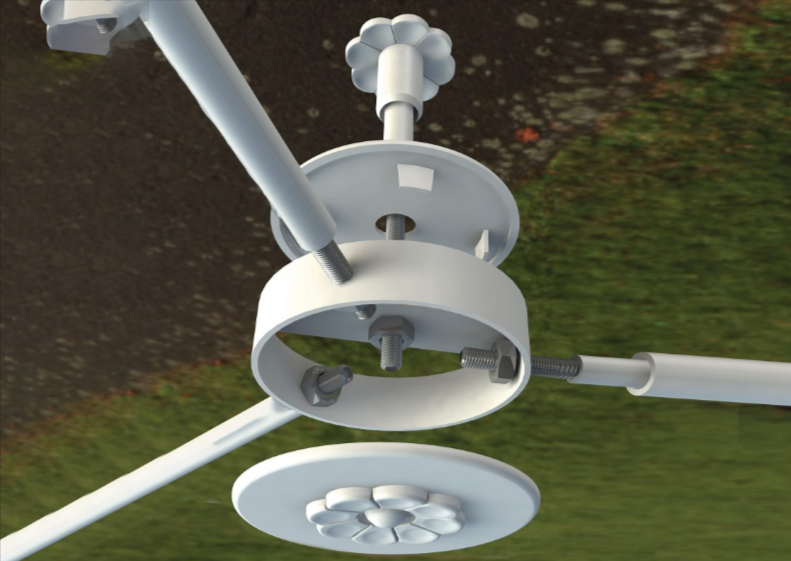
Before installing the roof, make sure to unpack the roof vent sash and assemble it. For more information, see here. Check the glazing bars from the roof pack and make sure the anchor clips are fitted at the top of their respective slopes. Attach the glazing bar end fixing blocks before you begin installation, to avoid headaches later.
Also, make sure to check the integrity of the property’s host wall. A cracked wall can affect the quality of your finished roof. Make sure your host wall is within plumb and in good condition.
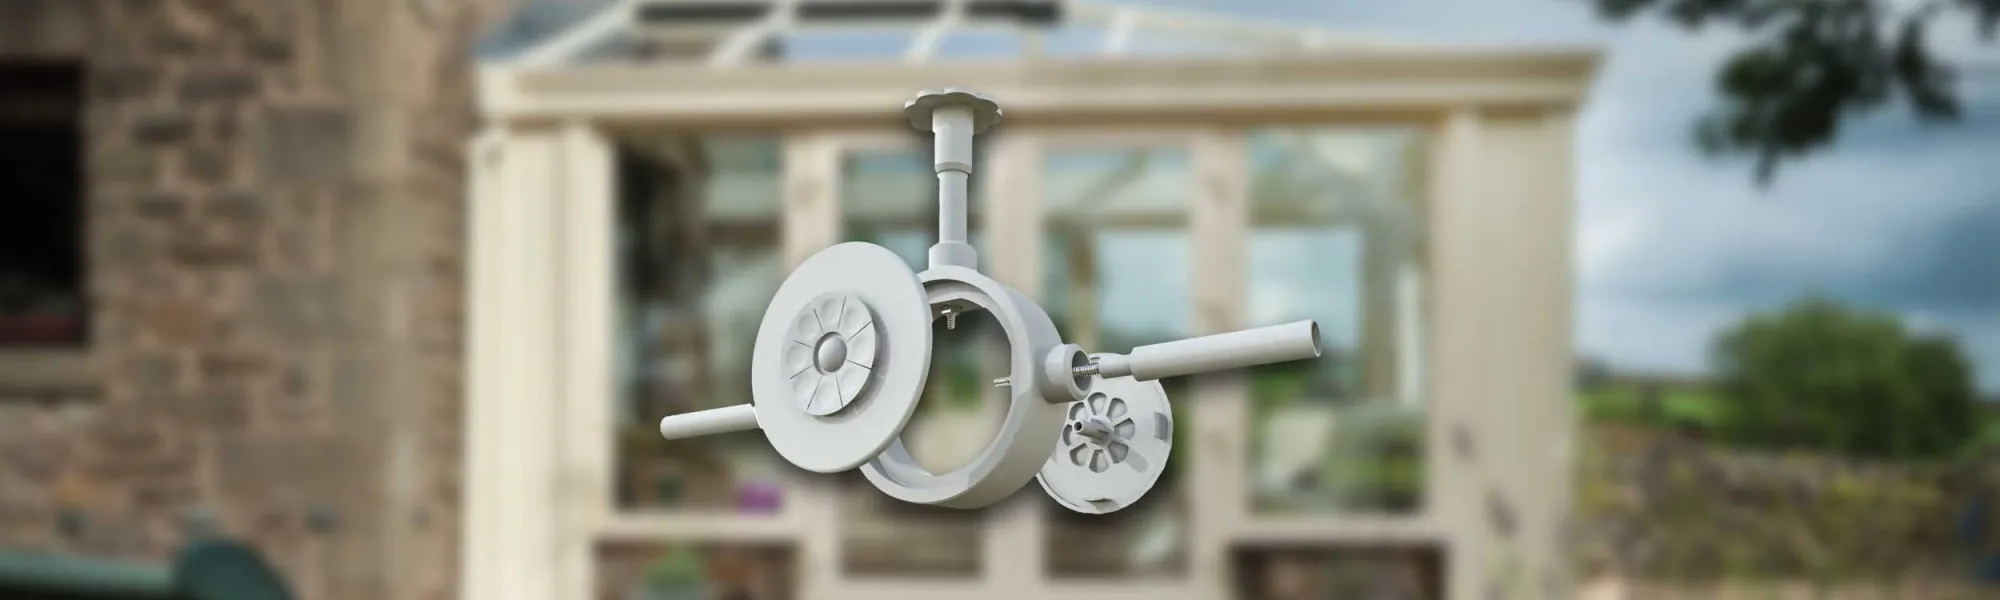
Preparation of the Roof Vent Sash
Before installing the roof vent sash, you’ll need to apply sealant to it first. Open the vent sash and lay it upside down on a flat surface. Pipe a continuous bead of sealant immediately behind the black co-extruded gasket. Make sure to create a seal around the entire sash, and give it adequate time to cure. After this, you can re-install the L shaped glazing beads to the opening sash, and screw fix the sash bracket into its final position. Make sure to leave the sash to cure before you fit it. See section 2.
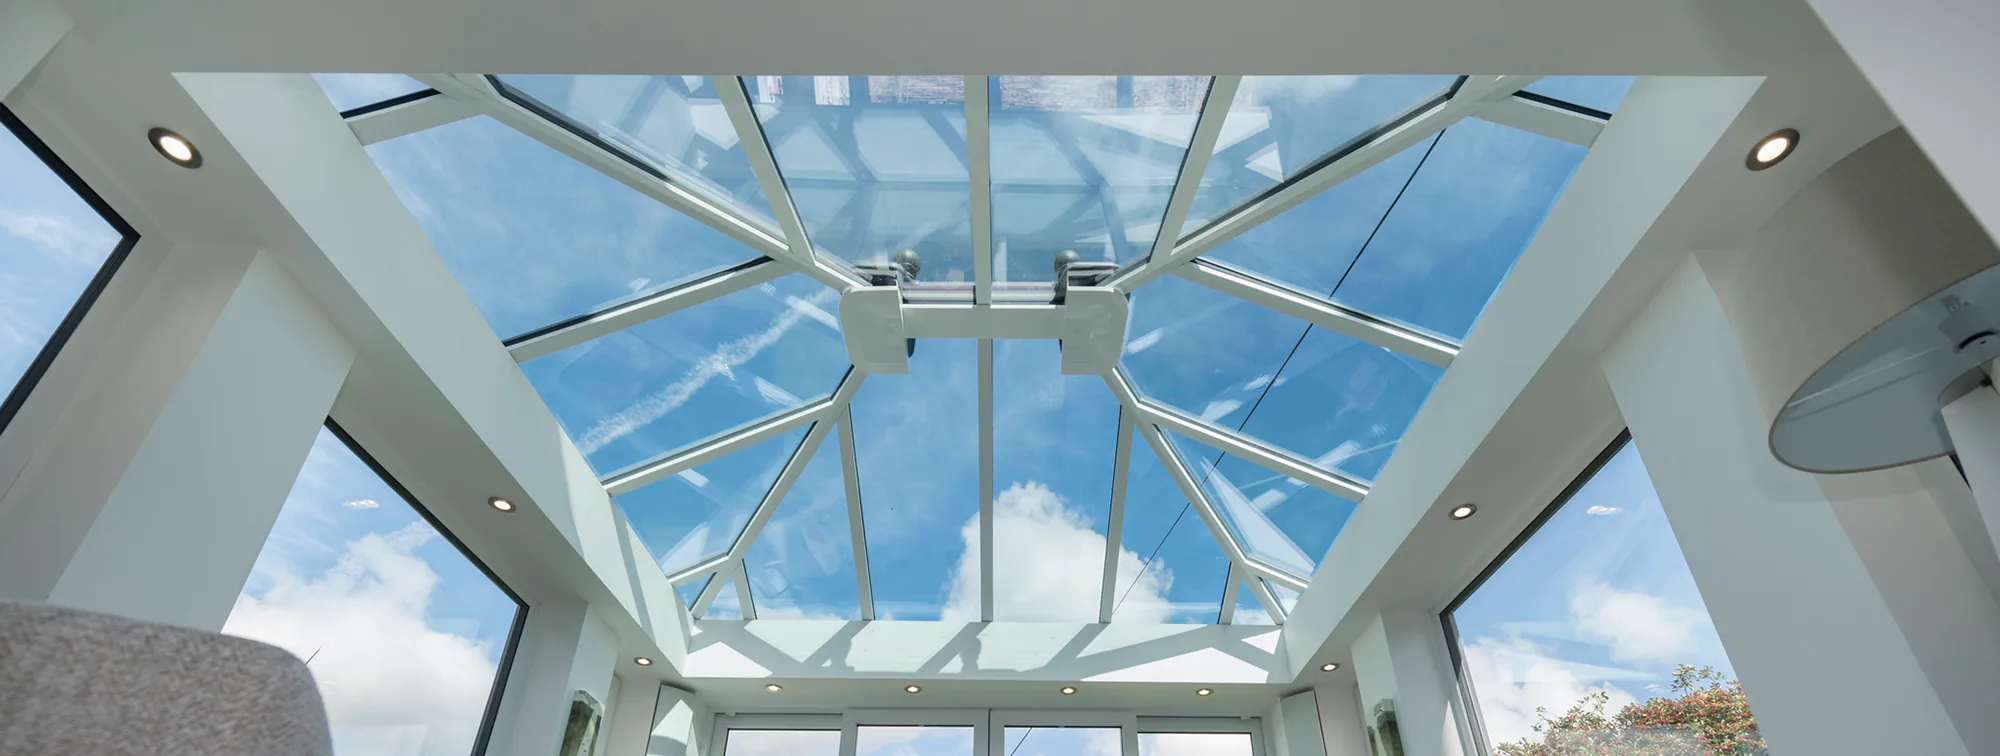
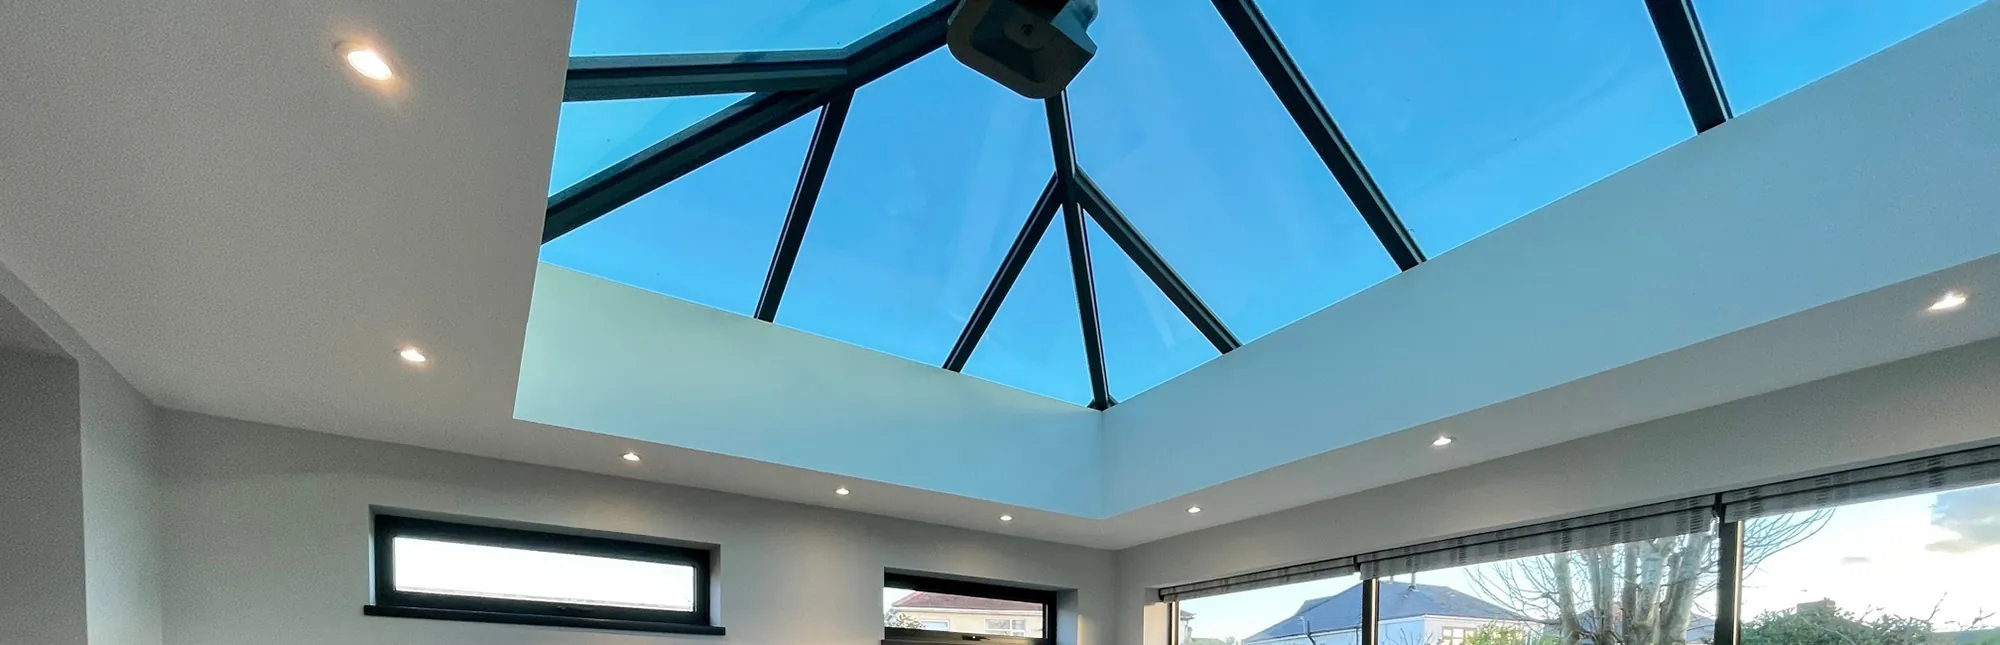
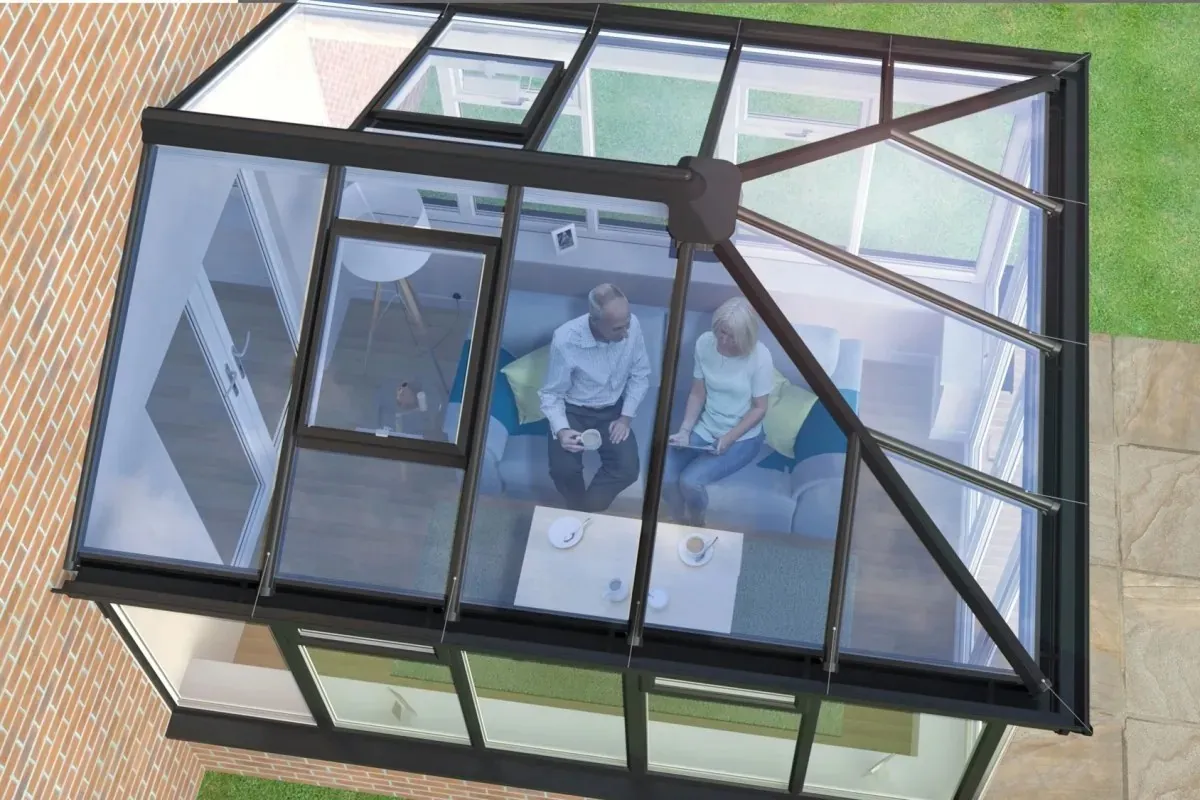
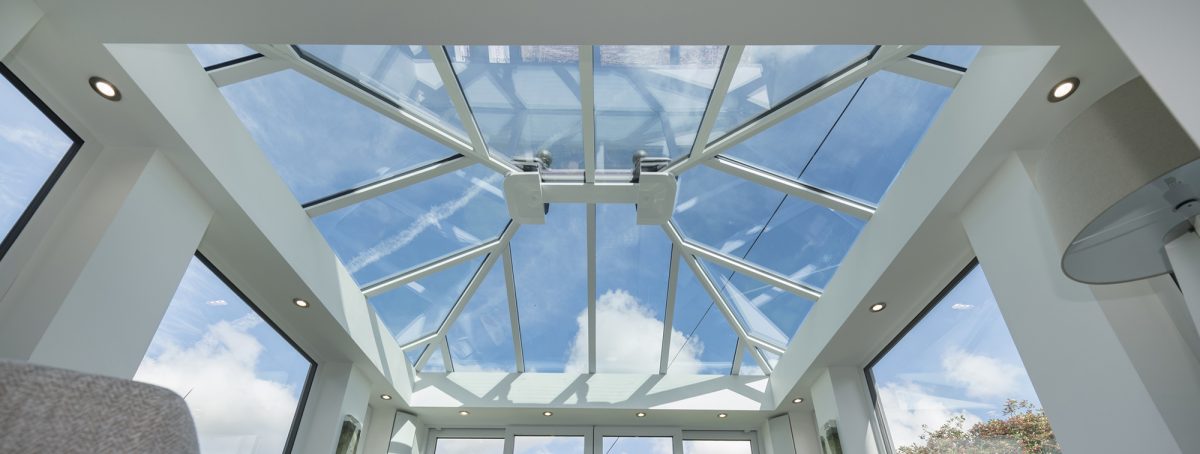
Assembling Your New Roof
How you install your new roof depends on the style of roof you’ve selected. Make sure you check the guide before you start installation, which you can find here. Start by attaching the side frames to the existing wall before securing the rest of the structure to the wall and floor. Once the structure is secure, you can now add the roof panels. After measuring the panels, it’s time to attach them to the side frames and eaves. Use a spirit level to make sure the frames and panels are level before fastening them together.
To complete the installation, add the ridge components. Ensure that all the components are securely attached and your new ultraframe conservatory roof is ready to be used.
Simple as That!
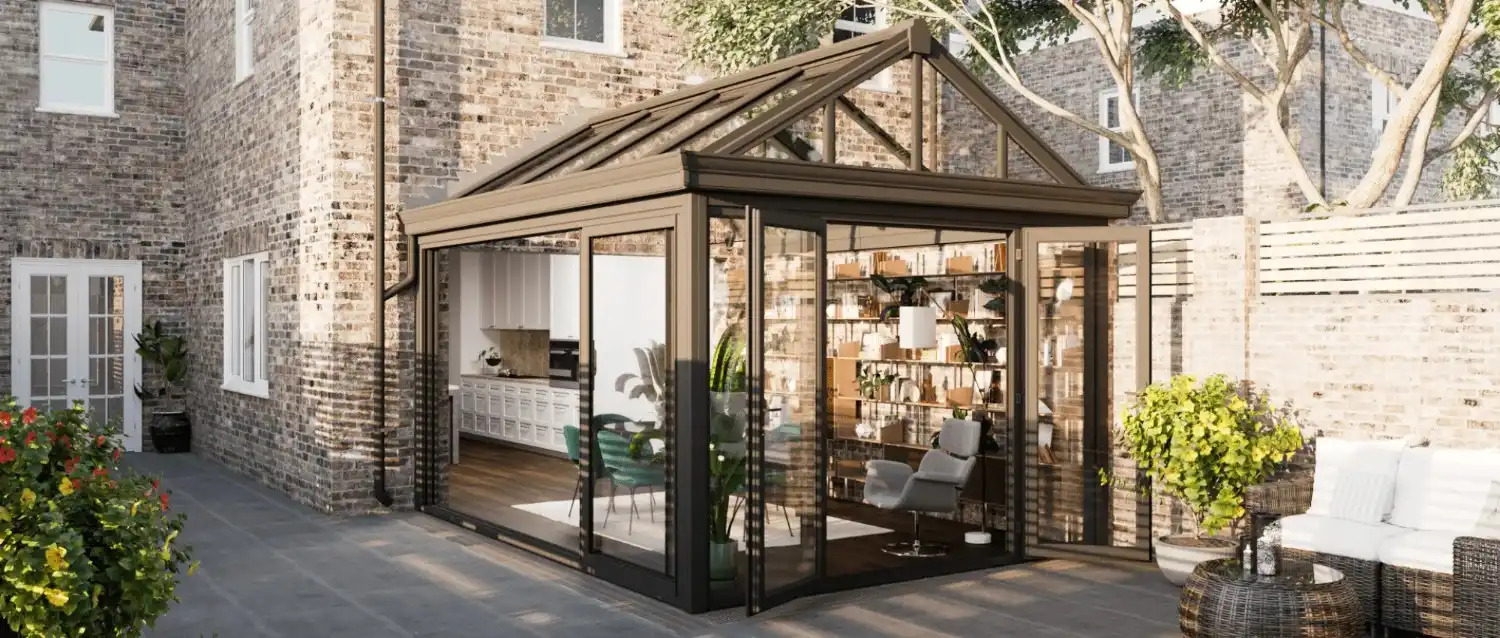
By following this simple guide, anyone handy with a few DIY tools can install an ultraframe conservatory roof themselves. It’s a great opportunity to add some more usable space to your home without breaking the bank.
If you’re looking for an ultraframe conservatory roof, check out the range we supply at TCR systems. You’ll be blown away by the range we have on offer. Contact us today by emailing caroline@tcrsystemsltd.co.uk or give us a ring on 01675 465462. We look forward to hearing from you.